MS Outlook is the most used emailing client used all over the world. A regular Outlook user knows that there are two data files in Outlook – OST (Offline Storage Table) and PST (Personal Storage File).
Entire personal emails, contacts, attachments, etc configure as email account and stores in PST file format. While the PST file comprises the replica emails of Outlook, stored in local machines when cache mode is ON, which is made by Outlook & Exchange Server during the synchronization. When MS Outlook users want to work with their emailing clients in offline mode, these files an important role.
OST File Location:
Before you open the OST file, it is important to know its exact location so that it is easy to access the contents. Steps to change the location of the Outlook OST File:
- First, launch MS Outlook in the old system where OST file is available. The configured data items such as emails, attachments, contacts, etc. will be available there.
- Select the configured account name and then right-click on it to choose the ‘Data file Properties’ of the system.
- After that, in the new window that has all the items of the configured account, choose the ‘Advanced’ option.
- The file location can be seen in Data File settings which appear on the following path “C:\Users\Admin\AppData\Local\Microsoft\Outlook\”.
- Next, copy the location of the file, paste it into the Run command search box & then press Enter.
- Choose the OST file for which you want to access the items in another system.
Open OST File in Outlook: Outlook 2010 and upper versions such as Outlook 2016, 2013 & 2019 are not supportive of manual methods for importing OST files. In such a situation, re-create an OST file via manual steps, and after that, it will become comfortable for you to access the items with Outlook. Steps to re-create the OST file in Outlook are as follows:
- First, exit Outlook.
- After that, click or double click on Mail in Control Panel
- Choose the Exchange Account on the E-mail tab, and click on Change.
- Use the Cached Exchange Mode checkbox then clear.
- Click More Settings.
- Now, Click Offline Folder File Settings on the Advanced Tab.
- In the next step, click on the Disable Offline, and a dialog box will appear. Click on Yes.
- Click the setting of Offline Folder File.
- Now, click OK.
- Click Yes on the dialog box that appears.
- Use the Cached Exchange Mode checkbox available under the Cached Exchange Mode Settings.
- Now, click OK >> Next >> Finish.
- Lastly, click the Close button of Account Setting and Mail Setup.
Manual Method: Now, after transferring the OST file, try to open it in the new system via Outlook. It will produce an error message such as “The FileC:\Users\admin\AppData\Local\Microsoft\Outlook\abc.ost file cannot be opened.”
So, you must have seen that the manual process will not open the OST file in Outlook. This method is not effective and may cause data damage too.
Automated Process: This is a reliable way to open the OST file which will export all the items of OST file to PST format and later you can access it on any Outlook account.
Automatic Method to Open an OST File into MS Outlook 2016 & Below Version: Here are the steps to open the OST file into MS Outlook:
- First of all, launch the software
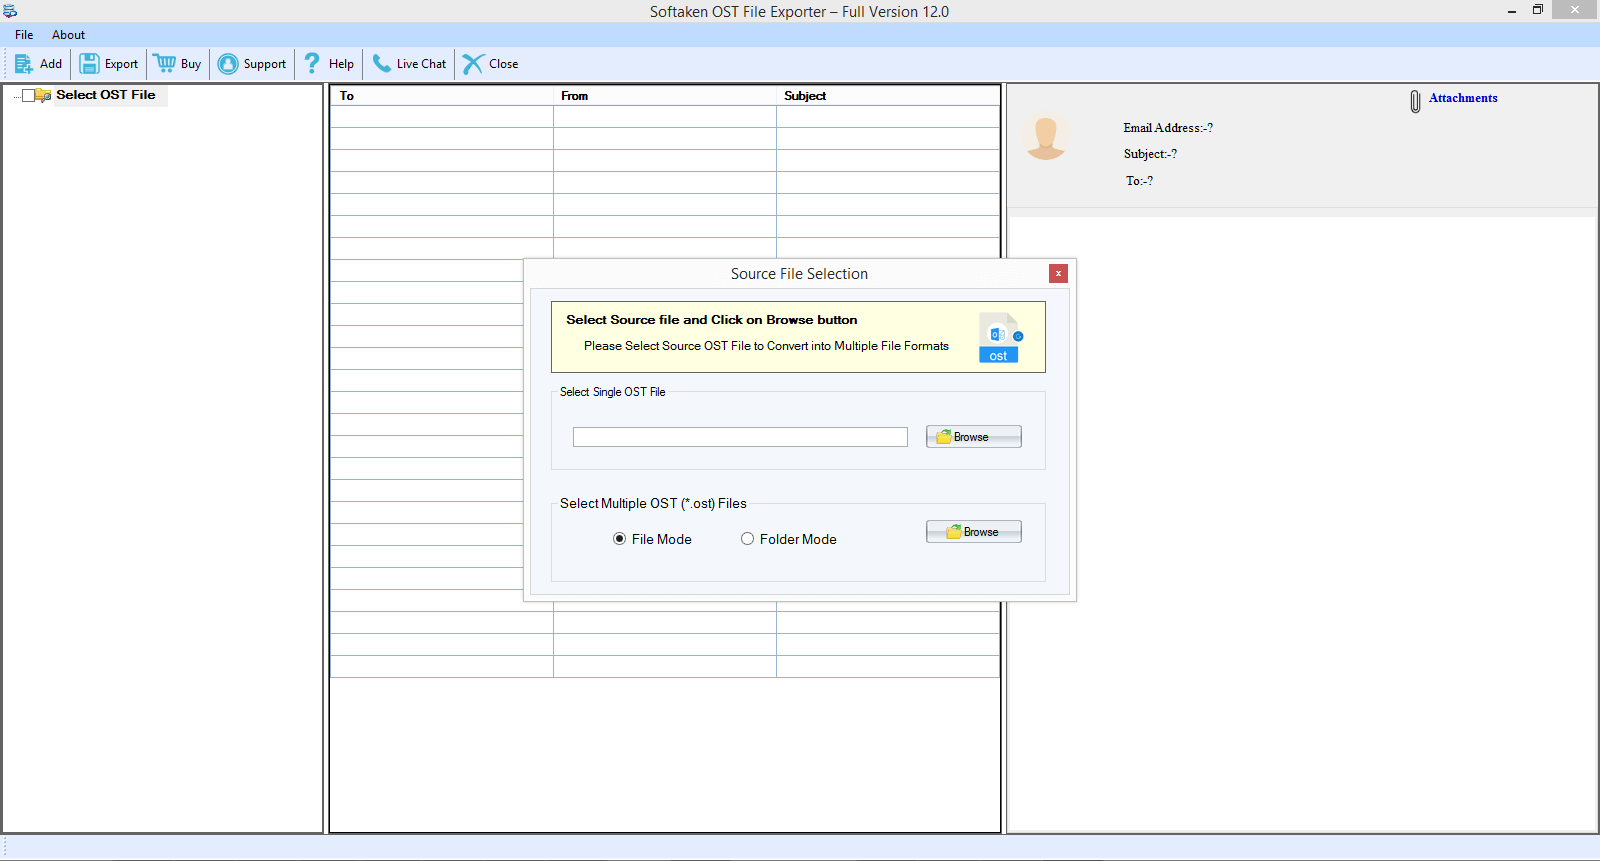
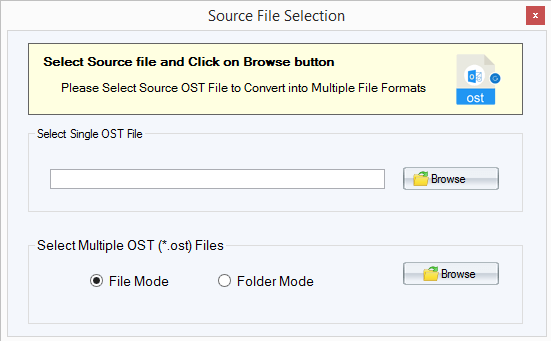
2. Then options to add the OST file will appear:
- File Mode: This option is useful when the user has one OST file to export
- Folder Mode: This option can be used when too many OST files to be exported
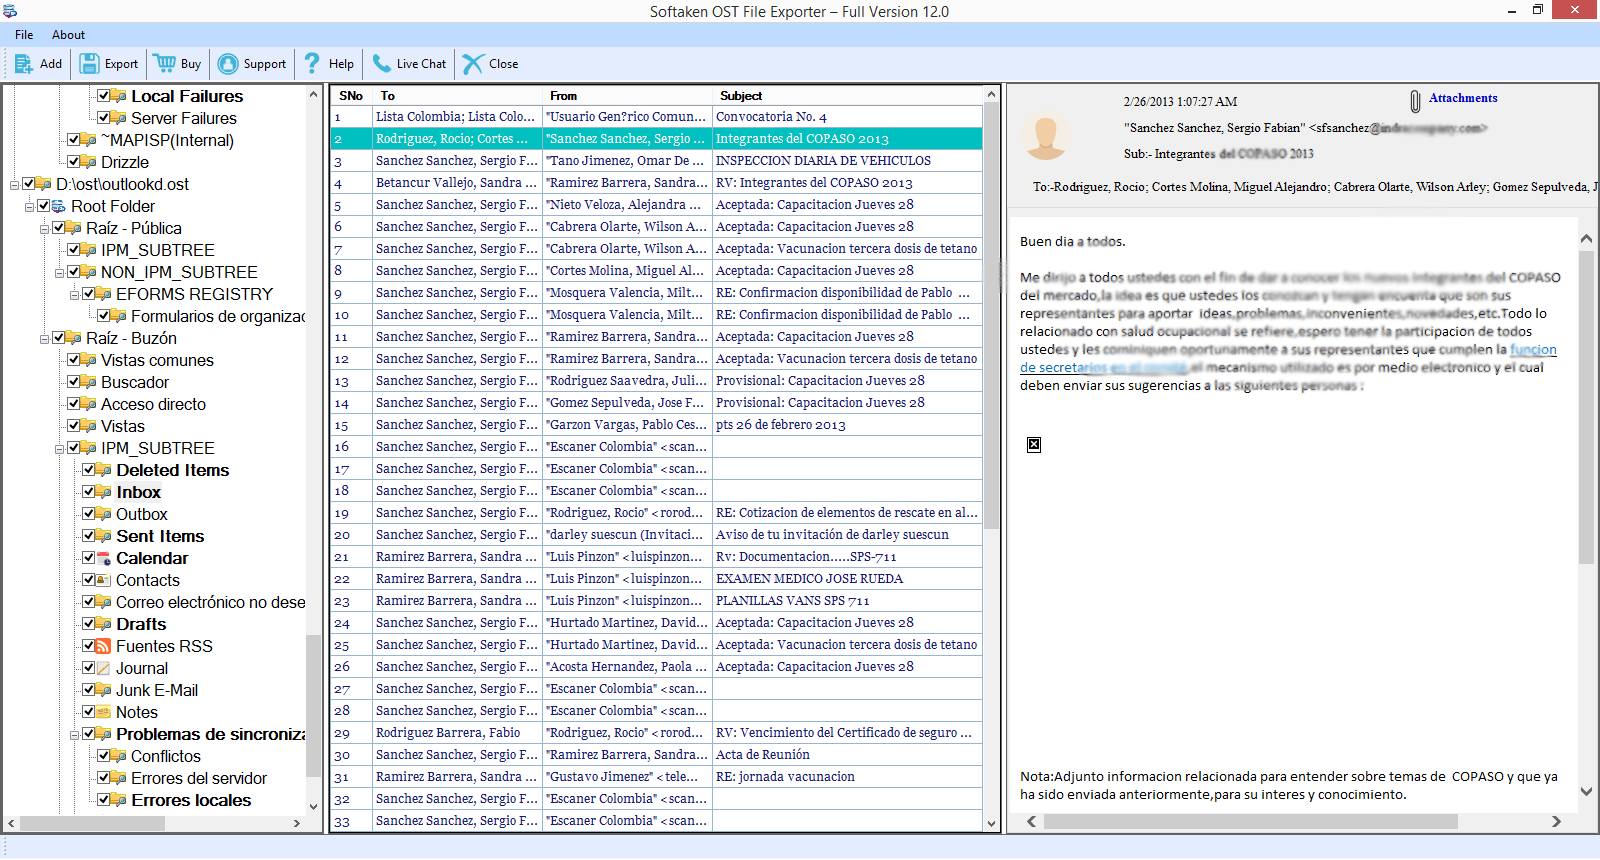
- After OST files are added, users will get a view of the OST files. Hit the Export button.
4. After hitting the Export button, a Convert Form will appear, where several options will appear
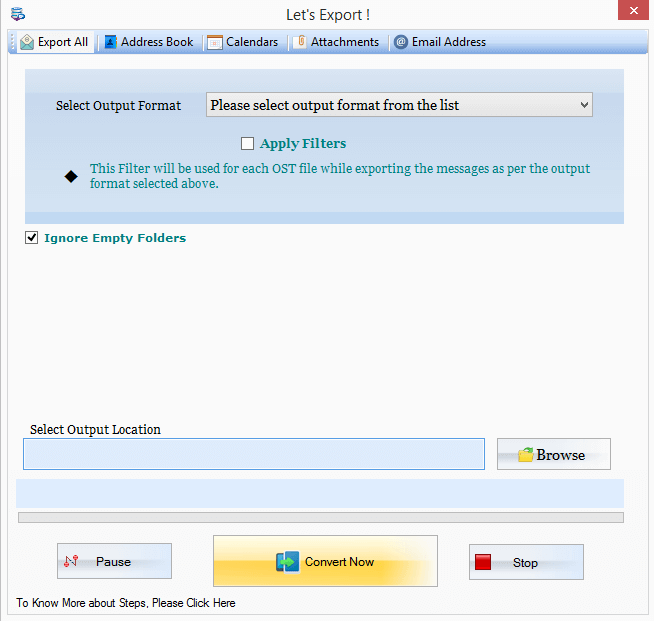
5. If you wish to export entire OST data then choose the ‘Export All’ option. This will give you various options such as NSF, MSG, MBOX, Office 365, etc to save the OST file.
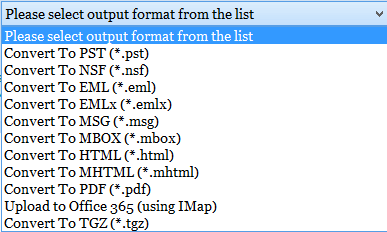
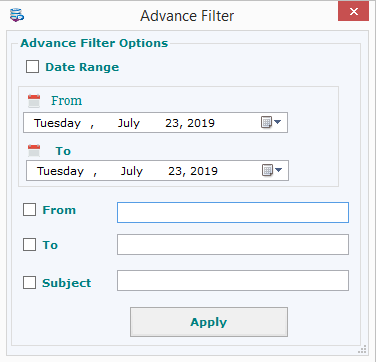
6. Advanced filters option is also there which helps users to filter the data according to the date range. They can filter the database on the parameters such as to, from, Cc, subject, and apply filter.
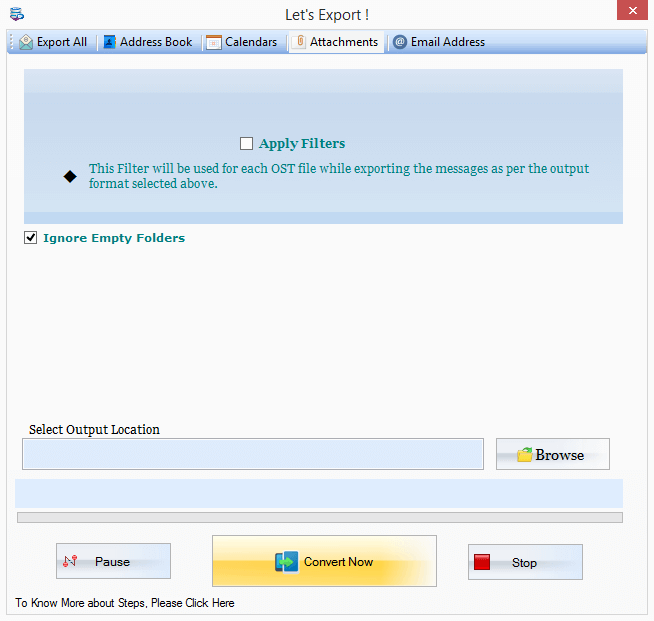
7. If you want to export only Address Book from OST, go to the Address Book tab and select the output format.

The same follows with calendars (in ICS or MSG)

Attachments
Email Address

8. You can Separate file for each OST by choosing the option, a separate test file created for saving the email address of every OST file
9. Include Sent Items folders will include sent items folder
10. Ignore Empty Folders will help to ignore the empty folders while making a conversion.
11. Use the Browse button to choose the saving location of the exported data.

12. Use the Pause/Stop options for pausing or stopping the process.
Conclusion: If the OST file fails to open in Outlook by default in any profile then it may the case of corruption or file size limit issue. In both situations, convert OST to PST. There is a manual process for making conversion but is not workable with MS Outlook 2010 and upper versions, it only supports 2007 and prior versions of Outlook. It is thus recommended to use the professional OST to PST Converter software. Such utilities can convert OST to PST in Outlook 2016, 2013, 2010 & 2007

